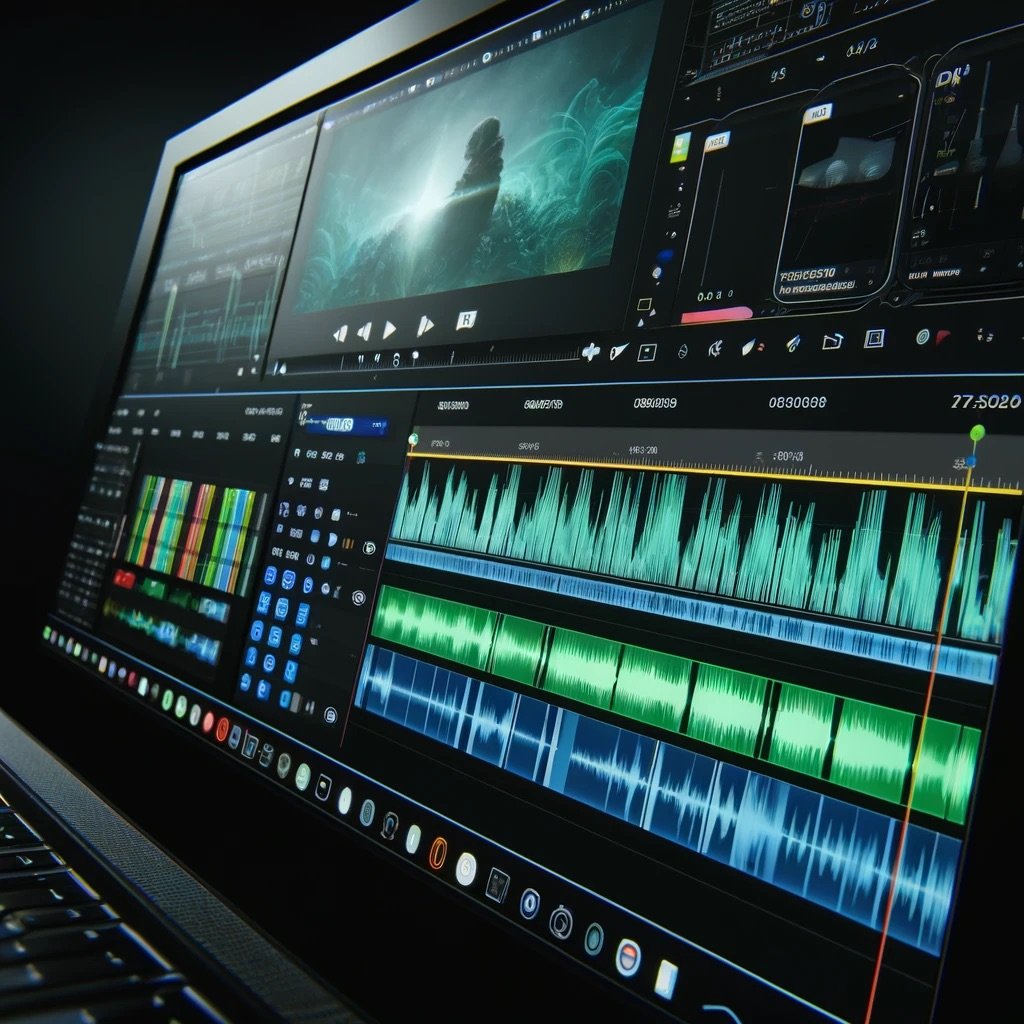
Quick Guide to Prep Your Film for Sound Mixing Like a Pro
What’s up, future film legend! Ready to get your film sounding as awesome as it looks? Preparing your audio files for a sound mixer is one of the final steps to making your film a complete masterpiece. This guide is perfect for you if you're still in high school or college and are gearing up to make your audio shine. Let's break it down into easy steps so you can send off your work and impress that sound mixer with how organized you are!
What You'll Need
Your finalized film (audio and video perfectly in sync)
A computer with your favorite audio or video editing software
A bit of patience and attention to detail
Step-by-Step Guide to Audio Prep Magic
Step 1: Lock Down Your Edits
First things first, make sure all your audio edits are on point. No more cutting or tweaking—what you have now should be the final version. Double-check that all your audio clips (dialogue, sound effects, background tunes) are perfectly synced with your video. Trust me, you don’t want timing issues later!
Step 2: Sort and Label
Organize your audio tracks by type like dialogue, sound effects (SFX), and music. Label them clearly—something like “Dialogue_Scene5” or “SFX_CarCrash” works great. It’s like keeping your music playlist organized; it just makes finding things easier.
Step 3: Export The Sound Files
Now, export each track separately using a high-quality format like WAV or AIFF. Stick to a 48kHz sample rate and 24-bit depth—this is the gold standard for film audio and will keep your mixer happy. Remember, dialogue usually goes mono and your music or environmental sounds can be stereo.
Step 4: Write a Cheat Sheet
Create a simple document where you list what’s on each track and any specific details your mixer should know about. Got a super important scream or a subtle background noise that needs special attention? Note it down here. This is like giving your mixer a map to your audio treasure.
Step 5: Pack It Up
Zip all your audio files and your cheat sheet into one neat package. Check that everything opens correctly and nothing got messed up or lost. It's a bit like making sure all your homework is in your backpack before you head to school.
Step 6: Send It Off
Choose a reliable file-sharing service to send your audio package to the mixer. Dropbox, Google Drive, or WeTransfer are your best bets. Make sure your files aren’t too big for a smooth upload and download process. Just like submitting an assignment online—easy peasy!
Step 7: Keep Talking
Stay in touch with your sound mixer. Share your contact info and be open to questions or feedback. If you have specific ideas or sounds in mind, now’s the time to share them. Regular check-ins can help ensure everything is moving along just the way you envisioned.
And that’s it! You’ve just prepped your film's audio tracks like a pro. This isn’t just about making the sound mixer's job easier—it’s about taking your film to the next level. By following these steps, you're not only showcasing your technical skills but also your professionalism. So, go ahead, send your audio off with confidence and get ready to hear your film the way it was meant to be heard!


